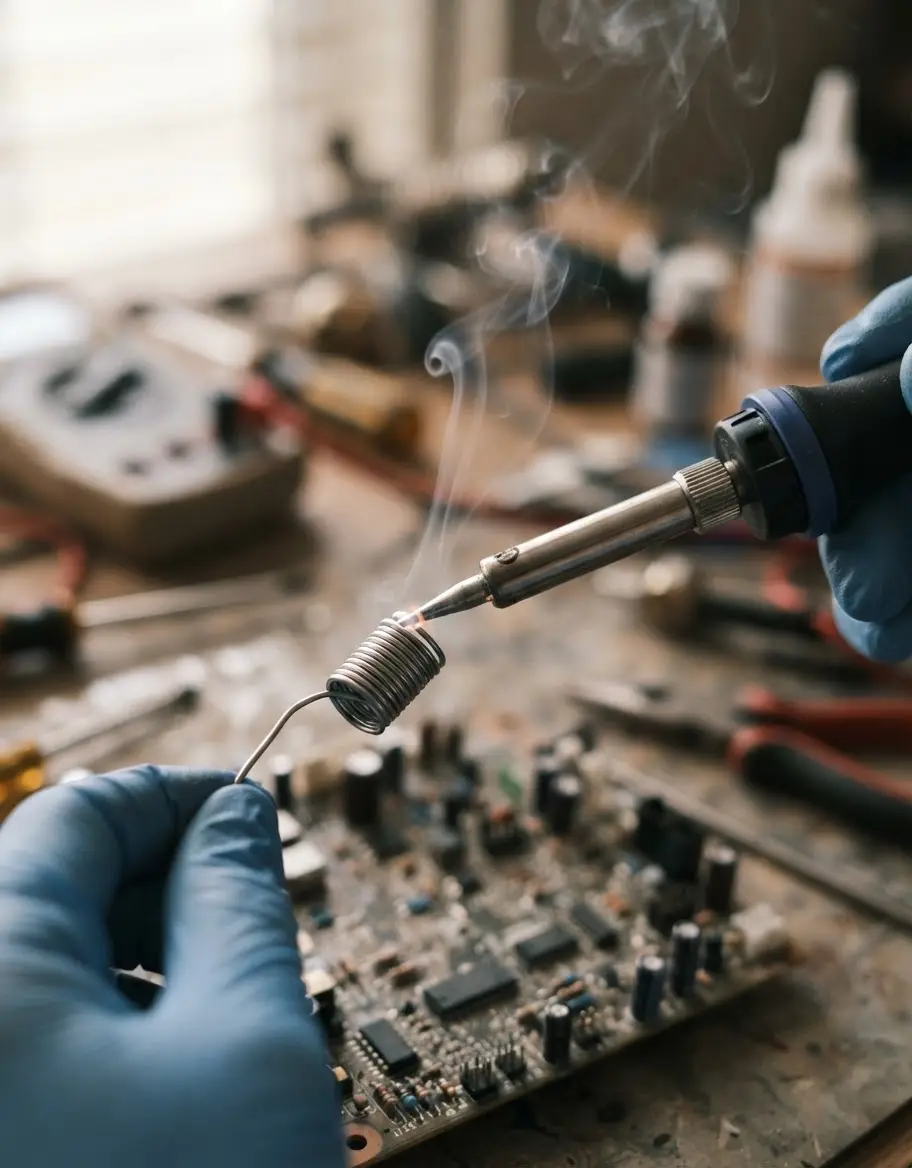
Keep your soldering tip performing at its peak with this straightforward guide to proper tinning, oxidation prevention, and routine maintenance techniques.
By the Niche Picks editorsUpdated November 9, 20269 min readDrawn from our 33 research-based maker tools reviews
AI-generated editorial illustration; not a product or test photograph.
Short answer
Tinning a soldering iron involves coating the heated tip with a thin layer of fresh solder to protect the underlying metal from oxidation. By applying solder immediately after heating and during work, you maintain high thermal conductivity and ensure reliable heat transfer for all your electronic components.
3
Product listings discussed; not hands-on tests
3/3
Discussed listings with a recorded price
$44.99–$139.00
Recorded listing price range; not a complete setup cost
Key takeaways
Tinning creates a protective barrier that prevents the iron tip from oxidizing during the heating process.
Always apply fresh solder to the tip before placing the iron back into its holder or when finishing a session.
Use a brass wire cleaner rather than a wet sponge to remove excess debris without inducing thermal shock.
If your tip turns black or grey, it has oxidized and requires immediate re-tinning or physical cleaning.
Proper tip care extends the life of your heating element and improves the quality of every solder joint you make.
Products discussed in this article
Editorial scores and recorded prices are reference points, not measurements of suitability for every use. Read each review's specifications and limitations.
TOAUTO DS90 Soldering Station-°F & °C Dual Digital8.2
Weller 70 Watt Digital Soldering Station | WE1010NA8.3
YIHUA 939D+ Digital Soldering Station, 75W Equivalent8.4
Recorded price (USD)
TOAUTO DS90 Soldering Station-°F & °C Dual Digital$44.99
Weller 70 Watt Digital Soldering Station | WE1010NA$139.00
YIHUA 939D+ Digital Soldering Station, 75W Equivalent$58.99
Comparison of Recommended Soldering Stations
Product
Wattage
Max Temp
ESD Safe
TOAUTO DS90
90W
896°F
Yes
Weller WE1010NA
70W
850°F
Yes
YIHUA 939D+
75W
896°F
Yes
Why is Tinning Your Soldering Iron Essential?
Tinning is the practice of applying a thin, molten layer of solder to the surface of a soldering iron tip. This process serves as the primary line of defense against oxidation, a chemical reaction that occurs when hot metal is exposed to oxygen. When a tip is not properly tinned, the copper or iron plating will eventually darken, creating a layer of residue that acts as a thermal insulator. This insulation forces you to increase your temperature settings to achieve the same result, which can damage sensitive PCB components. By maintaining a shiny, tinned surface, you ensure that the heat generated by your soldering station transfers efficiently into the joint you are working on.
Furthermore, neglecting the tip can lead to irreversible damage. Once a tip is heavily oxidized or "burned," it often fails to pick up solder entirely, a condition known as becoming "non-wettable." At this point, the tool becomes frustrating to use, and you will likely need to resort to cleaning the tip with abrasive materials or, eventually, replacing the tip itself. Beginners should note that tools like the TOAUTO DS90 Soldering Station come with accessories, including cleaning tools, that are intended to simplify this maintenance routine. Investing a few seconds before and after each session will save you significantly on replacement costs over the life of your workbench.
Oxidation is not merely a cosmetic issue. It fundamentally alters the physics of your solder connection. When the tip surface is clean and tinned, molten solder flows easily, forming a reliable, shiny joint that conducts electricity correctly. If the tip is oxidized, the solder beads up or refuses to spread, leading to cold joints that look grainy and are physically weak. Prioritizing this maintenance habit creates a foundation for professional results regardless of your experience level with maker tools.
The Essential Toolkit for Tip Maintenance
To maintain your iron effectively, you need a few basic supplies that should be standard on any electronics workbench. First, you need a high-quality solder—preferably a lead-free variety if you are working in a hobbyist environment. Many kits, such as the YIHUA 939D+ Digital Soldering Station, include a roll of solder as part of the starter package. You also need a dedicated tip cleaner. While traditional wet sponges are common, they can cause thermal shock to the heating element when the water evaporates rapidly against a hot tip. Instead, most experts prefer brass wire coils, which scrub the tip clean without the rapid temperature swing associated with damp sponges.
Beyond these, a quality soldering station is essential. Modern units offer built-in features like auto-standby or sleep functions, which prevent the iron from staying at maximum temperature for long periods while you are not using it. High heat, when held constantly without new solder applied, is the primary driver of oxidation. By choosing a station with adjustable temperature settings and reliable PID control, you can keep your tip at the lowest functional temperature required for your specific task. This simple adjustment preserves the integrity of the protective plating on your tips and prevents them from wearing down prematurely.
Consider the budget requirements for your setup. While high-end stations offer superior feedback, basic entry-level kits often provide everything you need to start. Always ensure you have a safe stand to hold the hot iron. Never place an unprotected iron on your workbench surface, as it will char materials and potentially ignite debris. By keeping these basics—flux-core solder, a brass cleaner, and a temperature-adjustable station—you ensure that your equipment remains in factory-spec condition for years of projects.
Temperature Control
Always operate at the lowest effective temperature for your solder type. Higher temperatures significantly accelerate the oxidation process, burning off your protective tinning in minutes.
Step-by-Step: How to Properly Tin Your Iron
The process of tinning is easy to integrate into your workflow once you make it a habit. Start by ensuring your iron is at the correct operating temperature—usually between 600°F and 650°F for standard lead-free work. Once the iron is hot, clean the existing tip using your brass wire coil to remove any old burnt flux or debris. As soon as the surface is clean and metallic, apply a generous amount of fresh solder to the entire tip. You want to see the solder flow evenly across the surfaces that typically contact your components.
After the solder is applied, wipe the tip gently against the brass coil one more time to remove the excess, leaving behind a smooth, shiny, and bright layer. This coating will protect the metal from the air until your next use. When you are done for the day, or even if you are just stepping away for ten minutes, repeat this process but leave the final layer of solder on the tip rather than wiping it off. This "protective coating" is the most critical step in preventing the tip from turning black while in the stand. For detailed advice on how to keep your workspace safe while performing these tasks, you can review our Maker tools FAQ.
Consistently repeating this workflow ensures that the tip is never left "naked" to the oxygen in the air. If you find your iron does not hold solder after this process, it may be due to an overly high temperature setting or low-quality solder that lacks sufficient flux. Ensure that you are using flux-core solder, as the flux is the chemical agent that actually scrubs the surface clean while you apply the molten solder. If you have any remaining questions about tool maintenance, browse our mistakes to avoid section for more tips.
Identifying and Fixing Oxidized Tips
Even with the best maintenance habits, oxidation can occur. Recognizing the signs early is vital to preserving your equipment. A healthy tip should appear silver or bright brass. If you notice a dark, dull grey or black film, the metal is oxidizing. At this stage, the tip's heat transfer efficiency drops, and you will struggle to melt solder effectively at standard working temperatures. If you ignore these signs, the tip will eventually become non-wettable, and you will be forced to buy a replacement.
To address mild oxidation, first increase the temperature slightly (not beyond manufacturer recommendations) and use a fresh strand of solder to "tin" the tip heavily. The flux in the solder should help dissolve the minor surface layer. After applying the solder, wipe it on the brass coil and repeat the process three to four times. If this does not restore a bright appearance, you can use a professional tip-tinner paste. This paste typically contains a mix of abrasive cleaners and flux designed to strip away the oxidation without damaging the underlying iron or nickel plating.
Avoid the common mistake of using mechanical abrasives. Many hobbyists reach for sandpaper, emery cloth, or files, believing they can buff away the oxidation. This is a fatal error for any iron tip. The tip is coated with a thin layer of iron or chrome over a copper core. Sanding removes this protective coating, exposing the soft, porous copper. Once the copper is exposed, it oxidizes almost instantly, and the tip will corrode and disintegrate rapidly. If you cannot restore the tip with chemical cleaners or careful re-tinning, the tip has reached the end of its functional life and must be replaced. Proper calibration of your work environment helps keep all your maker gear in top shape.
Avoid Sandpaper
Never use sandpaper or steel files to clean your iron tip. These materials will strip away the specialized iron plating, exposing the soft copper core and destroying the tip permanently.
Integrating Maintenance into Your Daily Workflow
Successful soldering is as much about ritual as it is about skill. Establishing a consistent maintenance routine prevents your tools from failing in the middle of a delicate project. Every time you pick up your iron, your first task should be cleaning the tip. Every time you set the iron down, your final task should be applying a new coat of solder. This "clean-work-clean-coat" workflow should be as reflexive as turning the machine on and off.
Consider the environment of your workbench. If you use a station like the Weller WE1010NA, the digital interface allows for rapid adjustments. Use these features to your advantage. If you are taking a longer break, utilize the auto-setback or sleep mode to drop the temperature. Reducing the idle temperature prevents the solder on the tip from burning off, which is a major contributor to premature oxidation. Maintaining a organized space also prevents debris from building up, which can eventually find its way into your joints.
Finally, document your maintenance. If you notice your tips are wearing out in less than a month of moderate use, examine your process. You are likely running the iron too hot or leaving it sitting in the stand for extended periods without a solder coating. By consciously monitoring your iron’s condition after every session, you turn a passive tool into a reliable partner for all your maker projects. For those scaling up to professional production or 3D printing tasks, these disciplined habits form the difference between a frustrating bench and a productive one.
Selecting the Right Soldering Station
The choice of your base station significantly impacts how easily you can manage your tips. A station with high power output and effective thermal recovery—like the YIHUA 939D+—allows you to maintain lower temperatures, which inherently slows the rate of oxidation. If you have to push a weak iron to 800°F just to melt lead-free solder on a large connector, you are actively destroying your tip in the process. A station with a powerful ceramic heating element recovers its target temperature almost instantly, meaning you can work at 600°F and preserve your equipment.
Look for stations that support a wide ecosystem of replacement tips. As you progress, you will realize that different projects require different tip geometries—conical for fine work, screwdriver for joints, and hoof or chisel tips for thermal mass. Investing in a brand that offers modular, affordable replacement tips ensures you never feel pressured to keep using a damaged one. The compatibility and build quality vary, so always inspect the grounding and ESD safety features of your unit upon arrival to ensure the station complies with your workspace safety standards.
Ultimately, your soldering station is an investment in your productivity. Whether you are building drones, repairing retro consoles, or prototyping custom electronics, the ability to produce clean, reliable joints is non-negotiable. By keeping your tools, tips, and technique maintained, you minimize the risk of hardware failure and maximize the joy of creating. As you grow your workshop, keep an eye on our buyer's guide to ensure your station evolves with your project complexity, ensuring every tool in your inventory is ready for the task at hand.
Step by step
1Turn on your soldering station and allow it to reach working temperature.
2Insert the iron tip into a brass wire cleaner to scrub off any existing burnt flux and oxidation.
3Touch a strand of fresh solder directly to the cleaned, hot tip, allowing it to melt and flow completely around the surface.
4Briefly wipe the tip on the cleaner to remove excess solder, ensuring the tip is shiny and silver.
5Apply a final layer of fresh solder to the tip immediately before placing it back into the safety stand.
Quick checklist
Heat the soldering iron to a standard working temperature.
Use a brass coil cleaner to remove old, burnt residue.
Apply fresh, high-quality solder to coat the entire tip surface.
Wipe away excess solder to reveal a shiny, metallic finish.
Re-apply a final coating of solder before placing the iron in the stand.
Ensure your iron is unplugged or set to standby if leaving the bench for more than 15 minutes.
Frequently asked questions
How often should I tin my soldering iron?
You should tin your iron before and after every soldering session, and periodically during long tasks. If you notice the tip losing its shiny appearance or appearing dark and dry, it is time to clean and re-tin the surface.
Can I use a wet sponge to tin my iron?
While a wet sponge is a traditional cleaning tool, it causes thermal shock to the heating element because of the rapid temperature drop. A brass wire cleaner is preferred as it cleans effectively without significantly cooling the tip.
What does a 'non-wettable' tip mean?
A non-wettable tip is one that has become so oxidized that solder will no longer adhere to it. The metal surface has effectively been covered by a crust of oxidation that prevents the molten solder from forming a bond.
Does the type of solder matter for tinning?
Yes. Using high-quality flux-core solder is essential. The flux helps to remove surface oxidation during the tinning process, ensuring a clean bond between the solder and the metal plating on the tip.
How do I fix a tip that has already turned black?
If a tip is only lightly oxidized, you can often recover it by using a dedicated tip tinner/cleaner paste. If the oxidation is deep and the metal plating is damaged, the tip has likely reached the end of its life and should be replaced.
Amazon links are affiliate links; we may earn a commission at no cost to you.
Shortlists in this category
Ranked lists from our maker tools reviews, limited to listings whose titles confirm the product type, with budget cuts where enough recorded prices sit on both sides of the line.
This page summarizes our research reviews of Amazon listings, listed specifications and captured buyer ratings. It is not a hands-on test. Scores are editorial assessments, not measured performance; prices are recorded snapshots and may change. A category can include both main products and accessories, so its overall price range is not the cost of a complete setup.
Most recent product record update: November 8, 2026. Individual records may be older; this is not a verification date for every claim. Prices on this page were read from the listings Nov 8, 2026.
Choose the product type first. These groups require a match in the listing title; an import search term alone is not enough. Scores rank our recorded research assessments within each group, not independently measured performance.
Values are shown as recorded, without unit conversions or inferred compatibility. Not recorded means unknown, not absent. Prices are snapshots, not current offers. Editorial scores are research judgments, not lab results. Amazon links are affiliate links.
Before treating a comparison as complete
Which details are still unknown?
A specification appearing in a listing is not independent verification. These counts show which shortlisted records contain the same field; a blank record does not mean the product lacks the feature.
Included Components
Recorded for 2 of 2 shortlisted models
Present in every shortlisted record. Check units, exact variants and the current manufacturer documentation before relying on it.
For ABS or ASA, confirm enclosure, temperatures and ventilation; an enclosure alone does not establish reliable printing or safe emissions.
Auto bed levelling removes the most common failure mode.
Budget for ventilation with any resin or laser machine.
If a specification, certification or compatibility detail is absent, mark it as unknown and ask the seller or manufacturer. Do not substitute a star rating, an editorial score or a different model's specification.