Understanding Mechanical Keyboard Switches: A Guide for Beginners
Discover how different mechanical keyboard switches impact your typing experience, longevity, and the importance of hot-swap technology in modern custom boards.
By the Niche Picks editorsUpdated November 8, 20268 min readDrawn from our 30 research-based mechanical keyboards & desk accessories reviews
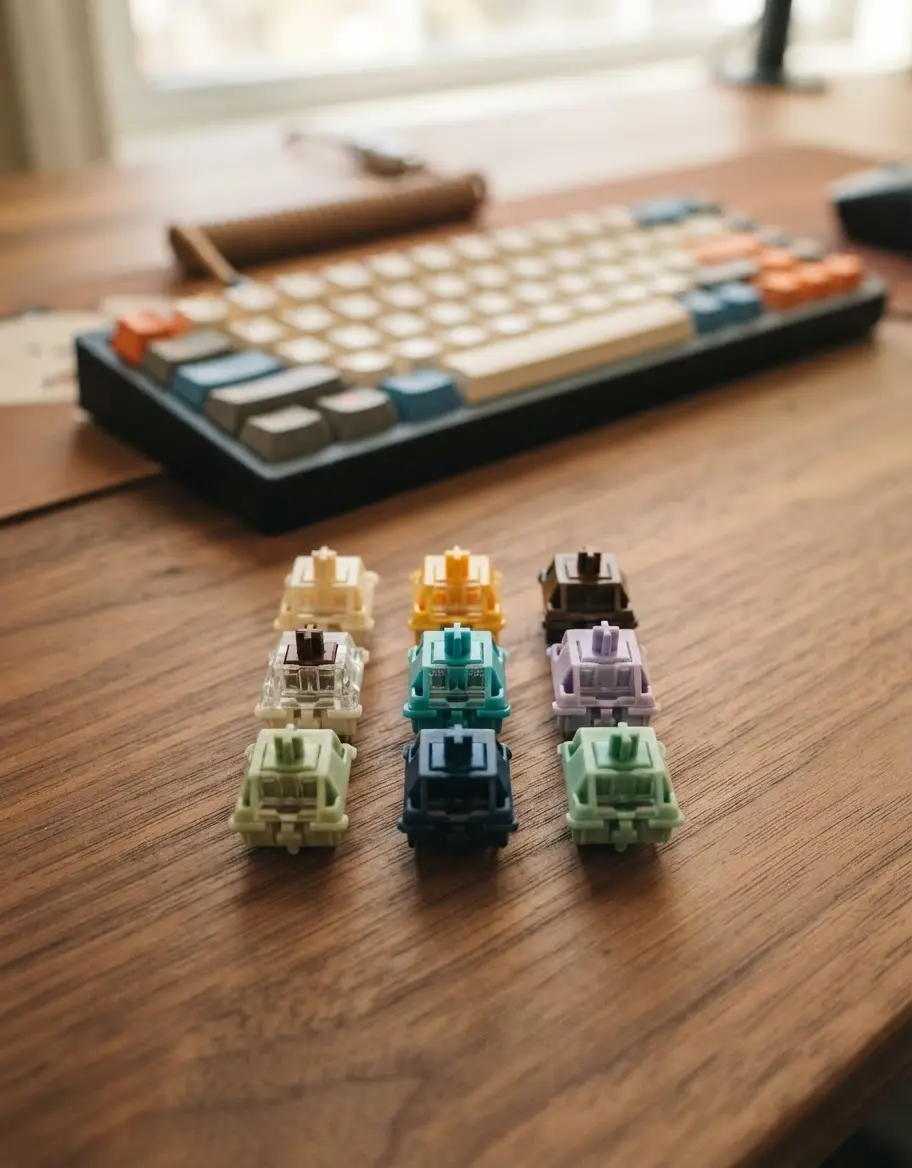
AI-generated editorial illustration; not a product or test photograph.
Short answer
Mechanical keyboard switches are the independent mechanisms under each key that register input, categorized primarily as linear, tactile, or clicky based on their actuation feel. While switch choice dictates your typing rhythm and auditory profile, the chassis construction—such as gasket mounting and internal foam—has a greater impact on the overall sound and feel of your desk setup.
6
Product listings discussed; not hands-on tests
6/6
Discussed listings with a recorded price
$7.99–$68.99
Recorded listing price range; not a complete setup cost
Key takeaways
Linear switches provide a smooth keystroke without tactile bumps, making them ideal for gaming and rapid typing.
Tactile switches offer a distinct physical bump at the actuation point, helping typists confirm registration without bottoming out.
Clicky switches produce a sharp, audible sound alongside tactile feedback, though they are often too loud for shared office environments.
Hot-swap sockets are the most important feature for longevity, allowing you to change switches as your preferences shift without desoldering components.
Internal acoustics, including plate material and case foam, define the final typing experience more significantly than the switch brand alone.
Products discussed in this article
Editorial scores and recorded prices are reference points, not measurements of suitability for every use. Read each review's specifications and limitations.
80 Pieces Blue Mechanical Keyboard Switches, 3 Pin$11.99
Comparison of Mechanical Switch Kits
Product
Type
Count
Mounting
Pre-Lubed
AULA F75 Pro
Linear
81 Keys
Hot-Swap
Yes
Epomaker Jade
Linear
100
5-Pin
Yes
Josojoou Blue
Clicky
72
3-Pin
Yes
Deftomo Blue
Clicky
50
3-Pin
No
Redragon K668
Linear
108 Keys
Hot-Swap
No
EBILNVKE Blue
Clicky
80
3-Pin
Yes
What defines a mechanical switch?
A mechanical switch is a self-contained component comprising a stem, housing, spring, and metal contact leaves. When you press a key, the stem moves downward, pushing the contact leaves together to complete a circuit and send an electrical signal to your computer. The specific shape of the stem determines whether the feel is linear, tactile, or clicky, while the spring weight (measured in gram-force, or gf) defines how much effort is required to actuate the key.
Linear: These switches travel smoothly from top to bottom without any interference. They are favorites for [articles/linear-cream-switches] due to their consistent, uninterrupted feel.
Tactile: These incorporate a small bump in the stem’s path, providing physical feedback so you know exactly when the signal has been sent.
Clicky: These use a more complex mechanism to create a crisp, audible 'click' sound, providing both tactile and auditory confirmation for every keystroke.
While marketing often focuses on the 'feel' of a specific brand, savvy builders recognize that the [category/mechanical-keyboards] ecosystem is far more complex. A switch's performance is rarely isolated; it interacts dynamically with the plate material, the density of the case foam, and the mounting style of the circuit board. For instance, a linear switch mounted in a rigid tray-mount keyboard will feel and sound vastly different than the same switch in a [product/B0D14N2QZF] featuring a gasket-mounted design with multiple layers of acoustic dampening.
In the past, mechanical keyboards required users to desolder individual switches to replace them, a process that was both labor-intensive and risky for the circuit board. Modern boards now feature hot-swap sockets, which allow you to simply plug and play new switches into your existing hardware. This is the single most effective way to protect your investment as your taste evolves over time.
If you start with an affordable board like the [product/B0CDWP1D58], you aren't permanently locked into its factory-installed switches. Should you decide the clicky switches you bought for an office project are too loud, or if you simply want to experiment with a different bottom-out force, you can swap your entire set in under an hour. This modularity ensures the board remains useful and relevant long after your initial purchase, rather than becoming e-waste when a single switch fails or your typing preferences change.
When purchasing replacement packs such as [product/B0GC33V4HK] or [product/B0GWJ1D18W], always verify whether your board requires 3-pin or 5-pin switches. The 3-pin design uses two metal contacts and a central guide post, ensuring universal compatibility with almost any budget hot-swap board. While 5-pin switches offer superior stability, they can occasionally require the clipping of two extra plastic legs to fit into specific 3-pin PCBs. Always consult the manufacturer's documentation to avoid unnecessary modifications to your hardware.
If your board is hot-swappable, try installing just one switch and testing it before populating the entire board. This ensures you are satisfied with the feel and that the pins are aligned correctly.
How acoustics and case design change everything
One of the most common [mistakes/mechanical-keyboards] beginners make is assuming that buying an 'expensive' or 'premium' switch will automatically result in a premium typing experience. In reality, the acoustic profile is defined by the entire assembly. A switch is only one piece of the puzzle; the chassis material, the presence of case foam, and the mounting method (gasket vs. tray-mount) play much larger roles in how your keyboard sounds and feels under your fingertips.
If you place a high-quality linear switch inside an unlined, tray-mounted aluminum case, the result will likely be hollow, metallic, and pingy. Conversely, placing a budget-friendly switch into a well-damped, gasket-mounted board like the [product/B0D14N2QZF] can often elevate its performance significantly. Gasket mounting acts as a suspension system, isolating the plate from the rest of the chassis and softening the impact of bottoming out. When combined with silicone or Poron case foam, these features eliminate high-frequency resonance and create a uniform, muted sound signature that many enthusiasts prefer.
Before you spend your entire budget on boutique switches, ensure your keyboard base is properly tuned. Investing in a board with internal sound-dampening layers is far more impactful than chasing minor variances in stem lubricants or proprietary plastics. If your current board feels too loud or hollow, sometimes simply adding a layer of case foam or switching to [articles/best-mechanical-keyboards-for-typing] with better dampening will be more effective than replacing every switch in your set.
Keycaps are the interface between your fingers and your switches. While switch specifications like actuation force and travel distance are important, the material and finish of your keycaps dictate how the board feels during long hours of use. You will frequently see debates surrounding PBT versus ABS plastics, but the truth is that wear depends on the specific formulation and your individual usage habits rather than a blanket promise of durability.
PBT (Polybutylene Terephthalate): Generally prized for its matte, textured surface that resists developing a glossy 'shine' over time. It is often the preferred material for long-term users.
ABS (Acrylonitrile Butadiene Styrene): While often associated with 'cheap' keyboards, high-quality double-shot ABS is common in premium sets. It tends to smooth out and shine faster than PBT due to the friction of your fingertips.
When choosing your next keyboard or keycap set, pay attention to the molding process. 'Double-shot' keycaps, which are made from two separate pieces of plastic molded together, will never have their legends fade because the characters are physically part of the structure. In contrast, cheaper printed legends may eventually wear off. If you are shopping for budget boards, consider products that explicitly state they use PBT to avoid the cost of buying aftermarket replacements once your stock keycaps start to degrade. For advice on maintaining your current set, our guide on [articles/how-to-clean-mechanical-keyboard] offers simple steps to preserve the texture and appearance of your keycaps for years to come.
Check pin compatibility
Always verify if your PCB supports 3-pin or 5-pin switches. While 5-pin switches are generally more stable, they may require you to snip the extra plastic legs to fit into 3-pin sockets.
Budget strategies for switch customization
Building a custom keyboard doesn't have to break the bank if you are smart about your component purchases. You can often save significant money by buying switches in bulk, especially for smaller projects or if you only need to replace a few failing keys. Maintenance bundles, such as [product/B0FSWLNL21], provide a cost-effective entry point that includes not just the switches, but also basic installation tools like a puller and brush.
When planning your budget, check our [budget] planner to see how much you should allocate for switches versus the base keyboard. If you are building a smaller 60% or 65% layout, a standard 70- or 80-switch pack is often plenty, saving you from having to buy multiple packs for a full-size build. Remember that many budget-friendly switches come factory-lubricated. This saves hours of tedious manual labor and ensures a consistent feel across all keys. Pre-lubed switches are an excellent value proposition that brings a custom-feel sound profile to budget-friendly [articles/best-budget-mechanical-keyboards].
Always keep a few spare switches on hand for every build. It is inevitable that you might encounter a dead socket or a switch with a slightly crooked contact pin over time. Having an extra pack allows you to perform immediate repairs without waiting for shipping, keeping your workspace productive. Whether you are aiming for a clicky, tactile, or smooth linear profile, focus your spending on hot-swap sockets and acoustic dampening first, as these provide the most meaningful long-term improvements to your typing experience.
Mechanical switches are generally quite durable, but they are susceptible to dust and liquid spills. If you use your keyboard in an open desk environment, consider purchasing switches that feature dust-proof designs. These typically have a 'wall' built around the stem to prevent debris from falling into the housing, which is a key factor for longevity in high-traffic workspaces.
Regular maintenance is key to keeping your board feeling fresh. You don't need to remove your switches often, but a quick dusting with a soft-bristled brush every few months can prevent buildup. If you do encounter a 'chattering' key—where the switch registers multiple inputs when pressed once—it is usually an indicator of either a dirty internal contact or a failing switch. Because you chose a hot-swappable board, this is a minor inconvenience rather than a catastrophe. You can simply pull the problematic switch, replace it with a spare, and continue your work.
Avoid using compressed air directly inside the switches unless you are prepared to potentially blow loose debris deeper into the contact mechanism. A better approach for deep cleaning is to follow our guide on [articles/how-to-clean-mechanical-keyboard]. If you ever decide to lubricate your own switches manually, do so in a clean environment and use only specialized keyboard-safe lubricants. Excess lubricant, especially in clicky switches, can deaden the sound and turn a crisp click into a mushy, inconsistent mess. Less is almost always more when it comes to switch modification.
Step by step
1Power off your keyboard and disconnect the USB cable.
2Remove the keycap of the target switch using a keycap puller.
3Use a switch puller to grip the top and bottom of the mechanical switch housing.
4Gently wiggle and pull the switch vertically until it pops out of the socket.
5Align the metal pins of the new switch with the holes in the hot-swap socket.
6Push the switch firmly straight down until it sits flush against the plate.
7Reattach the keycap and reconnect your keyboard to test for consistent actuation.
Quick checklist
Confirm your keyboard PCB has hot-swap sockets.
Determine if you prefer linear, tactile, or clicky switches.
Verify if your board uses 3-pin or 5-pin configurations.
Check if the switch pack quantity covers your entire keyboard layout.
Look for pre-lubricated switches to save time and labor.
Ensure you have a switch puller tool on hand.
Consider the acoustic properties of your keyboard's case and plate.
Use PBT keycaps to minimize finger shine over time.
Frequently asked questions
Are all mechanical switches interchangeable?
Not necessarily. While most modern mechanical keyboards use the MX-style footprint, you must ensure your board is 'hot-swappable.' If your board is soldered, you cannot swap switches without desoldering them. Additionally, you must verify if your board supports 3-pin or 5-pin switches to avoid compatibility issues.
Which switch type is best for gaming?
Linear switches are generally preferred for gaming because they offer a smooth, consistent keystroke without any tactile bump, allowing for rapid, uninterrupted inputs. However, personal preference is the deciding factor, and many gamers also enjoy the clear actuation point provided by tactile switches.
How do I know if my keyboard is hot-swappable?
Check your keyboard's product manual or the manufacturer's listing. If a keyboard is advertised as 'hot-swappable,' it means you can change the switches yourself. If it is not explicitly mentioned, you should assume the switches are soldered to the board, meaning they cannot be removed safely.
Do more expensive switches feel better?
Switch price often reflects manufacturing quality and consistency, but the 'feel' is heavily influenced by your keyboard's chassis, plate, and acoustic dampening foam. Often, a budget switch in a well-tuned gasket-mounted keyboard will feel better than a premium switch in a hollow, uninsulated tray-mounted board.
How many switches do I need for a keyboard build?
This depends on your layout: a 60% board typically needs around 61-64 switches, while a standard full-size keyboard needs 104-108. It is always wise to buy a slightly larger pack (like an 80 or 100-pack) to account for accidental damage during installation or for future maintenance.
Amazon links are affiliate links; we may earn a commission at no cost to you.
Shortlists in this category
Ranked lists from our mechanical keyboards & desk accessories reviews, limited to listings whose titles confirm the product type, with budget cuts where enough recorded prices sit on both sides of the line.
This page summarizes our research reviews of Amazon listings, listed specifications and captured buyer ratings. It is not a hands-on test. Scores are editorial assessments, not measured performance; prices are recorded snapshots and may change. A category can include both main products and accessories, so its overall price range is not the cost of a complete setup.
Most recent product record update: September 15, 2026. Individual records may be older; this is not a verification date for every claim. Prices on this page were read from the listings Nov 8, 2026 – Nov 11, 2026.
Compare the same kind of mechanical keyboards & desk accessories
Choose the product type first. These groups require a match in the listing title; an import search term alone is not enough. Scores rank our recorded research assessments within each group, not independently measured performance.
Values are shown as recorded, without unit conversions or inferred compatibility. Not recorded means unknown, not absent. Prices are snapshots, not current offers. Editorial scores are research judgments, not lab results. Amazon links are affiliate links.
Gasket mounting and case foam change feel more than switch brand.
Hot-swap sockets keep a board useful after your taste shifts.
Compare keycap material, thickness and finish; wear depends on the formulation and use, not a guaranteed lifespan for PBT or ABS.
If a specification, certification or compatibility detail is absent, mark it as unknown and ask the seller or manufacturer. Do not substitute a star rating, an editorial score or a different model's specification.