Best Gear for Maintaining an Active Sourdough Starter
Achieve consistent, professional-grade fermentation with the right precision tools and thermal mass equipment for your sourdough routine.
By the Niche Picks editorsUpdated November 8, 20269 min readDrawn from our 32 research-based bread baking equipment reviews
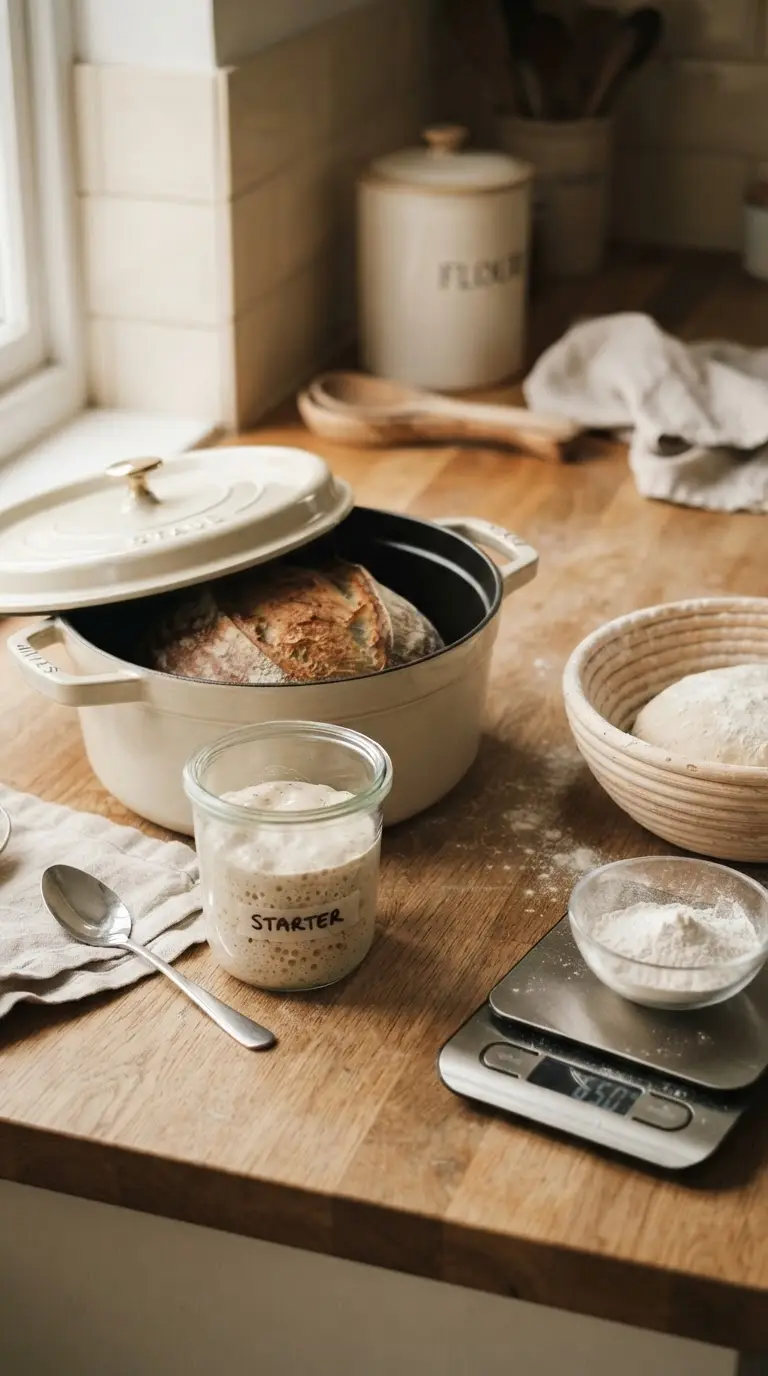
AI-generated editorial illustration; not a product or test photograph.
Short answer
To maintain an active sourdough starter, you must use a high-precision scale with 0.1 g resolution, such as the Etekcity 0.1g Food Scale. This granularity ensures your inoculation ratios remain consistent, which is essential for stable fermentation. Pairing this with a heavy, steam-trapping Dutch oven provides the necessary thermal environment to convert your active starter into a successful artisan loaf.
6
Product listings discussed; not hands-on tests
6/6
Discussed listings with a recorded price
$11.14–$99.00
Recorded listing price range; not a complete setup cost
Key takeaways
A 0.1 g scale is essential for repeatable starter feeding ratios.
Consistent feeding schedules prevent fermentation stalls and sourdough health issues.
Cast iron Dutch ovens deliver the thermal mass required for professional oven spring.
Use proper proofing baskets to maintain structural tension in high-hydration dough.
Avoiding tilt-head mixers for stiff sourdough prevents mechanical gear strain.
Products discussed in this article
Editorial scores and recorded prices are reference points, not measurements of suitability for every use. Read each review's specifications and limitations.
Lodge Cast Iron Double Dutch Oven, 2-in-1 Pot$59.90
Amazon Basics Digital Kitchen Scale with LCD Display$11.14
Comparison of Essential Sourdough Gear
Product
Best For
Capacity
Resolution
Etekcity 0.1g Scale
Starter Ratios
5 kg
0.1 g
Lodge Double Dutch
Safe Loading
5 Quart
N/A
Overmont Dutch Oven
High Volume
7 Quart
N/A
Superbaking Set
Moisture Wicking
9-inch
N/A
Lodge 2-in-1 Combo
Bread Baking
5 Quart
N/A
Amazon Basics Scale
Bulk Flour
5 kg
1 g
Why Precision Matters for Sourdough Starters
Maintaining an active sourdough starter requires more than just flour and water; it demands repeatable ratios. In professional baking, a 0.1 g scale is the gold standard because small errors in starter feedings compound over time. If you feed a small 20-gram seed culture with a scale that only registers in 1-gram increments, you risk significant percentage swings that alter your fermentation timeline drastically. The Etekcity 0.1g Food Kitchen Scale is our top pick for this task because it provides the split-stage precision necessary for micro-dosing ingredients.
Use a scale with 0.1 g resolution for all starter feedings to ensure consistent inoculation.
Always tare your jar weight before adding flour or water to prevent calculation errors.
Consistent ambient temperatures help predict peak activity for your starter accurately.
For a deeper dive into managing your microbial colony, see our comprehensive guide on how to feed sourdough starter. By automating your weighing process, you remove the human error that often leads to flat loaves or sluggish fermentation cycles. Remember that even a slight variation in the amount of 'seed' starter can change the duration of your final proof significantly, throwing off your entire baking schedule. If you are just beginning your journey, start with our simple how to make sourdough starter guide to establish your base culture properly before moving on to advanced batch scaling and specialized equipment upgrades. Investing in the correct measurement tool early on eliminates the primary bottleneck in the fermentation process and sets a solid foundation for all subsequent loaves, helping you understand the specific hydration and feeding needs of your unique culture as it matures over time.
Thermal Mass: The Key to Oven Spring
Once your starter is active and your dough is shaped, the vessel you choose dictates your success. True oven spring is a function of radiant heat and steam management, both of which require significant thermal mass. Research into baking hardware confirms that heavy-gauge iron, such as the Lodge Cast Iron Double Dutch Oven, provides the necessary thermal inertia to prevent rapid temperature drops when cold or room-temperature dough hits a hot surface. Unlike thinner, cheaper cookware, heavy cast iron holds heat like a residential kiln, ensuring the base of the loaf stays hot during the critical initial phase of the bake.
Aim for a Dutch oven with at least 12-13 lbs of total weight for maximum heat retention.
Choose an inverted Dutch oven design to simplify safe dough loading and prevent forearm burns.
Preheating your vessel for at least 45-60 minutes is vital for a strong, consistent rise.
For high-volume bakers, the Overmont Enameled Cast Iron Dutch Oven offers a 7-quart capacity that easily accommodates large boules without pinching the dough sides. While enameled options are generally easier to clean and resist rust without seasoning, bare cast iron, like the Lodge 2-in-1 Combo, is often preferred by purists who worry about enamel crazing or chipping during aggressive dry preheats. Whether you choose enameled or raw iron, the physics of steam containment remains identical. The lid must seat firmly to trap the moisture escaping from your sourdough, which delays crust formation and allows the score line to bloom to its maximum volume. You can explore more about this hardware in our articles/dutch-oven-bread review section.
Temperature Stability
Sourdough starter activity is highly temperature-dependent. If your kitchen is cold, keep your starter near a warm appliance or in an oven with the light turned on to maintain a stable 70-75°F range.
Managing Dough Structure Before Baking
The phase between the final mix and the bake is where most sourdough bakers encounter challenges. Using the right proofing basket, or banneton, is essential for maintaining structural tension in high-hydration doughs. The Superbaking Sourdough Banneton Bread Proofing Basket utilizes natural, coil-wound rattan, which wicks surface moisture away from the dough skin, creating a crisp, crackling crust once baked. This wicking process is vital because it prevents the dough from becoming overly gummy at the surface, which can lead to a tough or leathery final result if not managed correctly during proofing.
Always dust your banneton with rice flour to prevent sticking during the final turn out.
Use the provided fabric-elastic liners for very sticky, high-hydration sourdough formulas.
Clean your baskets thoroughly after each use and ensure they are fully bone-dry before storage to prevent mold.
Properly supported dough is the secret to achieving those deep, professional-looking score marks. If your dough collapses during the transfer to the Dutch oven, even the most active starter will not save the loaf. By using a basket that fits your loaf size, you ensure that the surface tension created during the shaping phase remains intact until the very last moment. For beginners, we recommend starting with a variety of shapes to learn how different baskets influence the spread of the boule. If you are unsure which size to buy for your Dutch oven, consult our guide on what size Dutch oven for sourdough bread to match your basket diameter to your cooking vessel capacity. Proper preparation at this stage is the final step in turning your active starter into a professional-quality loaf of artisanal bread.
Selecting the Right Scale for Batch Prep
While a 0.1 g scale is essential for your starter, you also need a reliable tool for bulk ingredient measurement. When mixing double-batch loaves, the Amazon Basics Digital Kitchen Scale provides a budget-friendly way to track flour and water weights. However, it is critical to understand that bread baking requires distinct tools for different stages. Relying on one scale for both micro-dosings and massive bulk additions can be inconvenient. A split-resolution scale, which provides high precision for small amounts but scales up for bulk usage, is often the most efficient choice for a home bakery station.
Verify that your scale has a tare function that is responsive and easy to access.
Choose a surface that is easy to wipe clean, as flour dust is inevitable during bulk mixing.
Ensure your scale has a high enough capacity to support the weight of your heaviest mixing bowl plus the dough ingredients.
Many home bakers make the mistake of using a single, low-accuracy scale for the entire process. This leads to issues when trying to scale yeast or salt, where a 1-gram increment might be off by nearly 50% on very small amounts. Using a scale with specific micro-dosing capabilities like the Etekcity 0.1g Food Kitchen Scale ensures your formulas remain scientifically accurate. Furthermore, keep your workspace organized by having your scale set up in a dedicated, low-traffic area of the kitchen. This prevents accidental bumping or shaking of the scale during delicate additions, which can ruin your measurements. If you find that your scale is frequently obscured by large bowls, consider using a scale with a remote display or a large, flat platform, which will help you keep the readout visible throughout the entire mixing process without having to constantly move the bowl or the scale.
Avoid Dishwasher Use
Never put rattan proofing baskets or cast iron cookware in the dishwasher. Rattan absorbs water, which leads to mold, while detergents can damage the seasoning or enamel of your Dutch oven.
Avoiding Common Sourdough Pitfalls
The path to a great sourdough loaf is filled with common technical errors that can be avoided with the right knowledge. One of the most frequent mistakes is overloading a tilt-head stand mixer with stiff, low-hydration sourdough dough. Bread baking equipment guidelines emphasize that rigid bowl-lift models are far superior for these dense tasks, as they prevent the mechanical oscillation that often occurs with tilt-head joints under heavy load. When your mixer struggles, it creates heat and mechanical stress that can degrade the gluten structure you are trying to build.
Never attempt to force-knead low-hydration bagels or dense whole-wheat doughs in a tilt-head mixer.
Avoid using detergents on rattan bannetons; use only a stiff brush to remove dried flour residues.
Do not skip the preheating phase for your Dutch oven, as it is essential for the initial steam generation.
Another common mistake involves the maintenance of your cast iron. Whether you choose the Overmont 7QT Dutch Oven or the Lodge 2-in-1, remember that excessive scouring and soaking can destroy your hard-earned seasoning or damage enamel glazes. Treat your cookware as an extension of your baking technique. For more details on common errors, check our mistakes/bread-baking section to ensure you are not sabotaging your own success. Consistency in sourdough is about repeating a process exactly, and that includes the care of your tools. If you treat your starter like a living member of your kitchen team and your equipment like precision instruments, you will see a massive improvement in the quality and consistency of your crust, crumb, and overall flavor profile across every single bake you perform in your home kitchen.
Optimizing Your Sourdough Setup
Organizing your bakery station is the final key to reducing friction in your routine. Having your 0.1 g scale, your proofing basket, and your Dutch oven in close proximity allows for a seamless workflow. Efficiency in the kitchen is often overlooked, but it is a major factor in whether you continue to bake weekly or give up due to the perceived difficulty of the process. A well-stocked station with high-quality tools like those reviewed in our articles/dutch-oven-bread section makes bread making feel like a natural part of your day rather than a chore.
Dedicate a specific shelf or cupboard for your bannetons to ensure they stay dry and dust-free.
Keep your starter in a clear jar with straight sides for easier tracking of growth and fermentation levels.
Label your equipment if you frequently bake with different types of flour, such as rye or spelt, which can behave differently.
Consider also the temperature of your baking environment. Sourdough yeast thrives between 70°F and 80°F. If your kitchen temperature fluctuates, your starter may peak at different times each day, which can be confusing. A simple oven thermometer can help you track ambient temps, while a budget planner can help you prioritize which tool to upgrade next. Whether you focus on scaling accuracy or thermal mass equipment first depends on your current primary hurdle. If your bread is consistently flat, upgrade your Dutch oven or improve your steam trapping. If your flavor is inconsistent or your proof times are chaotic, focus on your feeding ratio precision with a better scale. Every small improvement in your equipment chain eventually results in a more reliable and enjoyable baking experience that will sustain your craft for years to come.
Step by step
1Weigh 20g of your mature starter using a 0.1g scale.
2Add 20g of room-temperature filtered water and stir until fully dissolved.
3Add 20g of high-quality bread flour and mix until no dry streaks remain.
4Scrape down the sides of your jar to track the rise height accurately.
5Mark the starting level with a rubber band on the outside of the jar.
6Place in a draft-free location and monitor for doubling within 4-6 hours.
Quick checklist
Purchase a dedicated 0.1g scale for starter feedings.
Establish a consistent 1:1:1 or 1:2:2 feeding ratio.
Verify oven clearance for your chosen Dutch oven size.
Dust bannetons generously with rice flour before proofing.
Keep a dedicated log to track your starter's rise time.
Ensure all proofing baskets are completely dry before storage.
Frequently asked questions
How do I know if my starter is truly active?
An active, healthy starter should reliably double or triple in volume within 4 to 6 hours of feeding. It should have a pleasant, slightly fruity or yeasty aroma and look bubbly throughout the mixture, not just on the surface.
Do I need a 0.1g scale for my starter?
Yes, using a scale with 0.1g resolution is essential for professional-level repeatability. Even small inaccuracies in weighing your seed culture can lead to significant variations in fermentation speed, making it difficult to master your baking schedule.
Why is my starter not bubbling?
Lack of activity is often due to temperature or flour quality. Ensure your kitchen is at least 70°F and that you are using unbleached flour. If activity remains low, increase your feeding frequency to twice daily to strengthen the yeast colony.
Can I use a standard kitchen scale for bread?
While a 1g-resolution scale is sufficient for bulk flour and water, it lacks the precision needed for managing starter inoculations or micro-dosing yeast. For best results, use a 1g scale for bulk mixing and a 0.1g scale for starters.
Does the Dutch oven brand matter for sourdough?
No, the brand does not matter as much as the physical mass and seal. Any heavy-duty cast iron pot that traps steam effectively will produce the same oven spring as an expensive designer vessel. Focus on weight and lid fit.
Amazon links are affiliate links; we may earn a commission at no cost to you.
Shortlists in this category
Ranked lists from our bread baking equipment reviews, limited to listings whose titles confirm the product type, with budget cuts where enough recorded prices sit on both sides of the line.
This page summarizes our research reviews of Amazon listings, listed specifications and captured buyer ratings. It is not a hands-on test. Scores are editorial assessments, not measured performance; prices are recorded snapshots and may change. A category can include both main products and accessories, so its overall price range is not the cost of a complete setup.
Most recent product record update: October 3, 2026. Individual records may be older; this is not a verification date for every claim. Prices on this page were read from the listings Nov 8, 2026 – Nov 10, 2026.
Choose the product type first. These groups require a match in the listing title; an import search term alone is not enough. Scores rank our recorded research assessments within each group, not independently measured performance.
Values are shown as recorded, without unit conversions or inferred compatibility. Not recorded means unknown, not absent. Prices are snapshots, not current offers. Editorial scores are research judgments, not lab results. Amazon links are affiliate links.
Before treating a comparison as complete
Which details are still unknown?
A specification appearing in a listing is not independent verification. These counts show which shortlisted records contain the same field; a blank record does not mean the product lacks the feature.
Values are shown as recorded, without unit conversions or inferred compatibility. Not recorded means unknown, not absent. Prices are snapshots, not current offers. Editorial scores are research judgments, not lab results. Amazon links are affiliate links.
Check the manufacturer's dough capacity and duty-cycle guidance; bowl-lift versus tilt-head design alone does not establish capability.
For a covered baking vessel, compare heat retention, lid fit and safe oven temperature; loaf results also depend on dough and baking technique.
A 0.1 g scale makes starter ratios repeatable.
If a specification, certification or compatibility detail is absent, mark it as unknown and ask the seller or manufacturer. Do not substitute a star rating, an editorial score or a different model's specification.