How to Cut Hair with Clippers: Home Grooming Guide
Achieve a professional finish at home by mastering blade alignment, guard progression, and the fundamental mechanics of hair clipper maintenance.
By the Niche Picks editorsUpdated November 9, 20269 min readDrawn from our 31 research-based men's grooming & shaving reviews
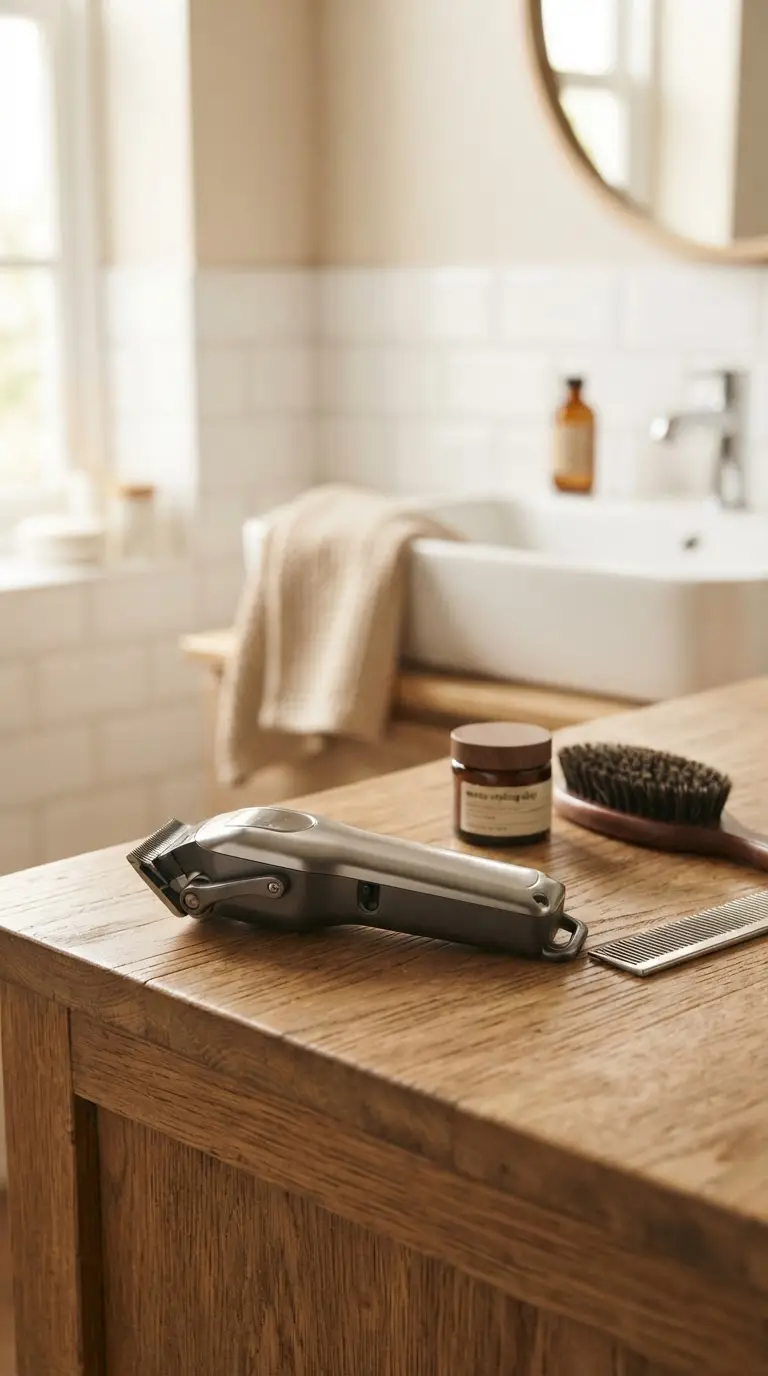
AI-generated editorial illustration; not a product or test photograph.
Short answer
To cut hair with clippers, select a guard length starting longer than necessary and use deliberate, upward flicking strokes against the hair grain. Maintain consistent hand pressure, keep your blades well-oiled to prevent pulling, and use a secondary mirror to ensure your transitions are blended evenly throughout the cutting process.
6
Product listings discussed; not hands-on tests
6/6
Discussed listings with a recorded price
$19.00–$44.99
Recorded listing price range; not a complete setup cost
Key takeaways
Always start with a longer guard length to avoid cutting too much hair at once.
Handle weight and blade gap determine cutting aggression more than the device brand.
Regularly oiling your blades is the most effective way to prevent hair pulling and motor bogging.
Effective blending requires a gradual progression through guard steps rather than sudden jumps in length.
Consistent maintenance, including brushing debris and oiling, is required to keep blades sharp and functional.
Products discussed in this article
Editorial scores and recorded prices are reference points, not measurements of suitability for every use. Read each review's specifications and limitations.
Ufree Beard Trimmer for Men, Waterproof Electric$29.98
Proraso Professional Shaving Brush - Natural Boar$19.00
Bambaw Double Edge Safety Razor for Men & Women, Metal$21.75
Comparison of Grooming Tools for Home Maintenance
Product
Best For
Power Source
Blade Material
Wahl Color Pro
Home haircuts
Cordless
Steel
Solati Trimmer
Detailing
Battery
Titanium-coated
Norelco 3000
Beard/Perimeter
Battery
Self-sharpening
Ufree Trimmer
Body grooming
Battery
Stainless steel
Proraso Brush
Wet lathering
Manual
Boar Bristle
Merkur Mk34c
Edge cleanup
Manual
Chrome/Brass
Mastering the Mechanics of Guard Progression
Clipping hair successfully at home relies heavily on your ability to select and transition between guard sizes. A common mistake among beginners is attempting to perform a transition using a single guard setting. Instead, treat your haircut as a multi-stage process of graduating lengths. As referenced in our guide/mens-grooming, the best results come from using incremental steps, moving from a longer guard to a shorter one as you move toward the base of the head. The Wahl Color Pro is particularly useful for this, as it features color-coded guards that make it much easier to keep track of your length progression during a session.
Remember that trimmer performance lives or dies on guard steps and blade sharpening. If you move from a 12mm guard directly to a 3mm guard, you will inevitably create a harsh, visible line that is difficult to fix without professional intervention. To blend effectively, use a 'flicking' motion—a technique where you pull the clippers away from the scalp as you reach the top of your stroke. This effectively feathers the line between the longer hair and the shorter section. Always verify that your chosen kit includes enough guard options to allow for at least 3mm to 6mm gaps between steps. If your current toolset feels insufficient, you may find helpful blog/mens-grooming that explains how to supplement your existing kit with higher-quality, rigid combs that resist the flexing often seen with cheap plastic components.
The Importance of Proper Clipper Technique
Your technique is the primary factor determining the quality of your home haircut. When you are ready to begin, hold the clipper with a firm, neutral grip to ensure you have maximum control over the angle of the blade. The weight of the machine is a critical factor; for instance, a unit with a well-balanced handle like those discussed in our articles/wahl-clippers allows for consistent movement without the hand fatigue that leads to sloppy work. Position the guard teeth flush against the scalp and move the clipper in a slow, steady motion against the direction of hair growth. If you move too quickly, the clipper may jump over patches, resulting in an uneven finish.
For detailing areas around the ears and the neckline, remove the guard carefully or switch to a dedicated detailer. Many modern units, such as the Solati Hair Clippers, feature a zero-gapped blade assembly which is ideal for fine-tuning these perimeters. However, exercise high levels of caution when operating without a guard; the lack of a buffer means even a slight tilt of the blade can result in a painful nick. Always use a secondary mirror to inspect the back of your head frequently. If you feel the clipper 'grabbing' or snagging at your hair, stop immediately. This is usually a sign that your pass speed is too high, or that your blades require a fresh application of oil to maintain their cutting efficiency.
The Mirror Test
Use a handheld mirror to inspect the back of your head before you finish. If you aren't looking at the back of your neck, you are likely missing uneven lines.
Maintenance for Consistent Cutting Performance
The efficiency of your clippers will degrade quickly without a strict maintenance schedule. Hair debris and skin oils can accumulate rapidly within the teeth of the blade, creating friction that not only dulls the edge but can also cause the motor to overheat or bog down during thick cutting passes. As outlined in articles/how-to-clean-hair-clippers, a professional maintenance routine involves brushing out the blade assembly after every single use to clear out trapped hair. While some models like the Philips Norelco 3000 offer rinseable components, you must verify the exact submersion limits of your specific unit in the manufacturer's instructions to avoid internal water damage.
Oiling is the second essential step. A small drop of high-quality clipper oil on the cutting teeth before every session, and again after cleaning, keeps the blades cool and moving at the correct RPM. If you find your clipper is pulling hair, it is almost never a fault of the motor's inherent strength; it is typically a symptom of dry or clogged blades. If you are using an entry-level model, remember that the stamped metal blades common in budget units do not hold their edge as long as professional ground stainless steel. Regular oiling can delay the need for replacement parts, saving you from having to purchase entire new units. Always store your clippers in a dry environment to prevent the oxidation of your high-carbon or stainless steel components.
Understanding Motor Dynamics and Hair Density
When navigating different hair types, it is vital to understand how motor dynamics influence the cutting experience. Thick, curly, or dense hair requires significantly more torque to shear through than fine or thinning hair. Many entry-level trimmers, such as the Ufree Beard Trimmer, are designed for light touch-ups and general maintenance but may struggle if you attempt a full head cut on thick hair. If you notice the motor sound changing—dropping in pitch or slowing down significantly—this is a clear indicator that the clipper is struggling under the load. In these situations, you must take significantly smaller sections of hair to reduce the pressure on the blade.
If you find that you are consistently having issues with evenness, consider the quality of the guards you are using. Plastic guards that flex when they hit thick hair will not produce a consistent result. For a more professional experience, many users in our category/mens-grooming seek out devices that offer metal or reinforced resin attachments that stay rigid even under firm hand pressure. When shopping, do not just look at the raw number of attachments; look for a device that matches your hair type to the power output of the unit. If your hair is particularly dense, a corded clipper might provide more consistent torque than a battery-powered one, as you will not have to contend with decreasing rotational velocity as the battery discharges over a long session.
Avoid Pressure
Do not press the clippers into your scalp. Use a light touch and let the sharpness of the blades handle the cutting to avoid skin irritation and uneven results.
Safety Razors for Perimeter Cleanup
Once you have finished your bulk cutting and blending, the final step in a professional-grade home haircut is clean edge work. While clippers are excellent for mass removal, they rarely achieve the ultra-close finish of a manual blade. This is where a high-quality safety razor becomes an essential part of your grooming toolkit. As explained in our articles/safety-razor, a properly used safety razor allows for perfect definition on the neck and cheek lines without the irritation often associated with multi-blade cartridge systems. Models like the Merkur Mk34c are excellent for this purpose because their weighted handle gives you precise feedback, allowing for light-pressure passes that define your hair perimeter safely.
Integrating wet shaving into your clipper routine is a natural step for those who want to level up their home grooming results. Using a quality brush and soap, such as the Proraso Professional Shaving Brush, ensures that your skin is adequately hydrated and prepared for the blade. When edging, pull the skin taut and make short, careful strokes; the goal is to clean up the stray hairs that the clippers missed rather than trying to shave a large area. Beginners might find that a more mild-to-moderate safety razor like the Bambaw Double Edge Safety Razor provides enough safety and feedback to build the necessary hand-eye coordination for this task. By mastering both the clipper for the bulk and the safety razor for the edge, you can achieve a finish that rivals a commercial barbershop appointment without the recurring costs of professional visits.
Common Beginner Mistakes to Avoid
The path to a successful DIY haircut is paved with common errors that usually arise from haste or improper preparation. A major pitfall is failing to ensure the hair is completely dry before you begin; wet hair clumps, stretches, and reacts differently to blade tension, which often leads to cutting patches that end up shorter than intended. As explored in our mistakes/mens-grooming, rushing the process is the most frequent cause of an unsatisfactory final result. Because clippers work linearly, you must maintain a steady, controlled pace that allows the motor and blades to clear the hair path effectively.
Another frequent mistake is not utilizing the taper lever or manual adjustment options present on many clippers. Even if you are sticking to a single guard length, slight variations in the blade lever can help create a more natural-looking transition near the ears and neckline. Furthermore, never assume that a higher-numbered guard is the only way to shorten hair. Many beginners are intimidated by lower numbers and default to high guards, resulting in a 'bowl' look. Instead, start high to take off the bulk, and then use smaller guard increments to systematically shorten the sides and back to create a fade. If you feel overwhelmed, remember that you can always take more hair off, but you cannot put it back. When in doubt, perform a trial pass on a small, less visible section of the head to calibrate your movements. If you follow these steps and rely on our faq/mens-grooming, you will find that home grooming becomes a predictable, repeatable part of your routine rather than a stressful necessity.
Step by step
1Start with the longest guard length to safely remove bulk hair.
2Switch to a shorter guard for the sides and lower back of the head.
3Use a flicking motion with your wrist to blend the zones between guard lengths.
4Remove the guard or use a dedicated trimmer for clean neck and sideburn edges.
5Perform a final check with a hand mirror to identify any uneven patches.
6Brush hair from the blades and apply oil to maintain the assembly.
Quick checklist
Verify clippers are fully charged before beginning your session.
Ensure your workstation is well-lit with access to a mirror.
Lay out all required guard combs in order of length.
Oil the clipper blades to ensure smooth, snag-free movement.
Brush away hair periodically to keep your sightlines clear.
Use a secondary mirror to check for missed patches at the back.
Clean the clippers thoroughly after finishing to preserve the motor.
Frequently asked questions
How do I avoid clipping streaks or uneven lines?
Streaks occur when you move too fast or fail to overlap your passes. Slow your movement, and use a consistent flicking motion at the end of each stroke to blend the hair. Always ensure your guard is snapped on securely, as even slight movement can create an uneven cut.
How often should I oil my clipper blades?
You should oil your clippers before every single use and after each cleaning. Proper lubrication reduces friction, prevents the blades from overheating, and helps maintain the motor's peak speed. Consistent oiling is the most effective way to prevent hair pulling and extend the lifespan of your blades.
Can I use hair clippers on my beard?
Yes, but be aware that large hair clippers can be bulky and difficult to maneuver around the curves of the face. A dedicated beard trimmer is usually more practical. If you do use hair clippers, ensure the blades are clean and sharp, as facial hair often causes more drag.
What is the difference between zero-gapped and standard blades?
Zero-gapped blades are aligned to be perfectly flush, allowing for an extremely close cut for outlining. Standard blades have a small safety gap between the teeth. Zero-gapping offers a sharp edge but increases the risk of nicks if the clippers are pressed too hard against the skin.
How do I fix a patchy haircut?
If you notice a patch that is too short, the only solution is to blend the surrounding hair to match the new length. Move up to a slightly longer guard and work around the shorter patch, feathering the edges until the transition is gradual rather than abrupt.
Amazon links are affiliate links; we may earn a commission at no cost to you.
Shortlists in this category
Ranked lists from our men's grooming & shaving reviews, limited to listings whose titles confirm the product type, with budget cuts where enough recorded prices sit on both sides of the line.
This page summarizes our research reviews of Amazon listings, listed specifications and captured buyer ratings. It is not a hands-on test. Scores are editorial assessments, not measured performance; prices are recorded snapshots and may change. A category can include both main products and accessories, so its overall price range is not the cost of a complete setup.
Most recent product record update: September 29, 2026. Individual records may be older; this is not a verification date for every claim. Prices on this page were read from the listings Nov 8, 2026 – Nov 11, 2026.
Choose the product type first. These groups require a match in the listing title; an import search term alone is not enough. Scores rank our recorded research assessments within each group, not independently measured performance.
Values are shown as recorded, without unit conversions or inferred compatibility. Not recorded means unknown, not absent. Prices are snapshots, not current offers. Editorial scores are research judgments, not lab results. Amazon links are affiliate links.
Blade gap and handle weight define aggression far more than brand.
Trimmers live or die on guard steps and blade sharpening.
Badger versus synthetic is preference; lather is technique.
If a specification, certification or compatibility detail is absent, mark it as unknown and ask the seller or manufacturer. Do not substitute a star rating, an editorial score or a different model's specification.